


News
Message
Why Alloy Pipe Fittings Leak: Causes and Inspection Steps
A leaking alloy pipe fitting can disrupt operations, increase maintenance costs, and compromise system safety. For after-sales maintenance teams, identifying the cause quickly is essential to selecting an effective repair and preventing repeat failures.
From improper installation and seal damage to corrosion and material incompatibility, several factors can contribute to an Alloy Fitting leak. This guide explains the most common causes and outlines practical inspection steps to help you assess the problem and plan corrective action.
Begin by making the system safe and locating the actual leak path. Do not assume the fitting itself has failed: a damaged gasket, nearby weld, or overloaded pipe may be responsible.
Where Should Maintenance Teams Look First?
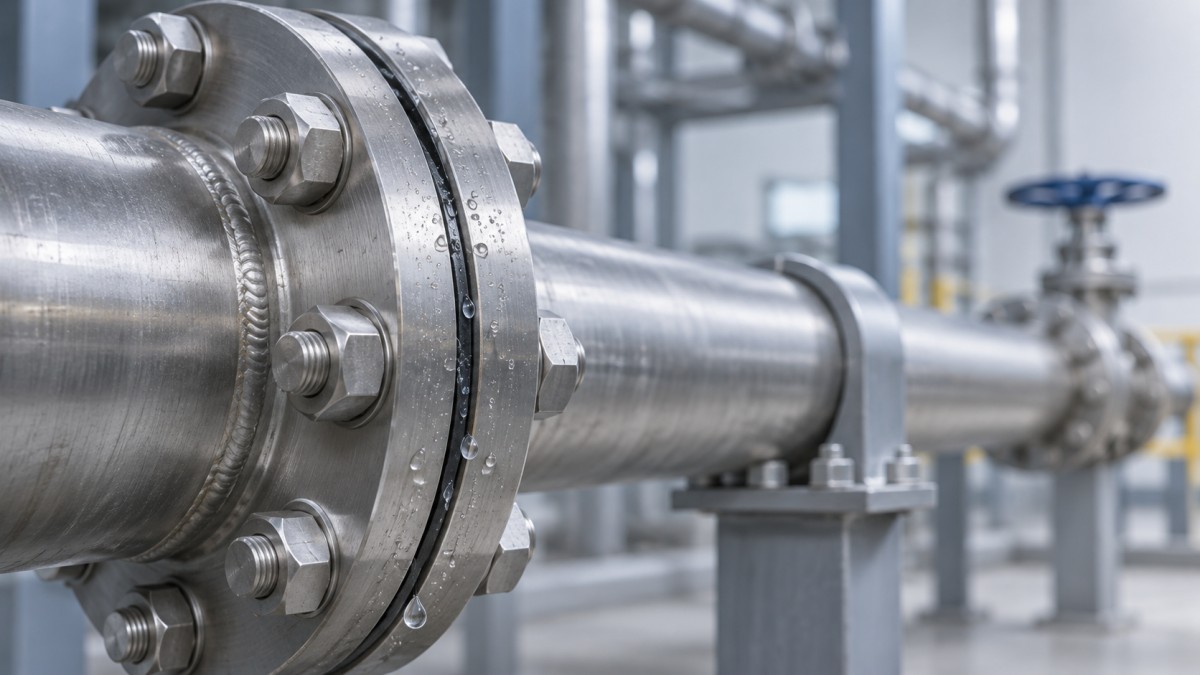
Record the leak location, operating pressure, temperature, fluid, and recent maintenance history. Note whether leakage occurs continuously, during startup, or only after the system reaches operating temperature.
These observations help distinguish a persistent sealing defect from a problem caused by thermal expansion, vibration, or changing pressure. Compare current conditions with approved design and operating limits.
Before approaching the equipment, follow site procedures for hazardous fluids and confirm whether the area requires evacuation, remote monitoring, or specialist assistance.
What Commonly Causes an Alloy Fitting to Leak?
Installation and Assembly Errors
Misaligned piping can prevent mating surfaces from seating correctly and place additional stress on joints. Excessive force used to pull components together may create leaks after operation begins.
Incorrect tightening can also compromise a connection. Insufficient bolt load may leave gaps, while excessive or uneven tightening can damage gaskets, distort flanges, or strip threads.
For compression fittings, incorrect tube preparation, incompatible components, or an improperly assembled ferrule can prevent sealing. Use the fitting manufacturer’s instructions for assembly and any permitted remake.
Damaged or Incompatible Seals
Gaskets and other sealing elements can harden, creep, swell, or crack under unsuitable temperatures, pressure, or chemical exposure. Scratched sealing faces can create a leak path even with a new gasket.
Check that the seal material, dimensions, and pressure-temperature rating match the service. A replacement that looks identical may perform differently in the presence of chemicals or thermal cycling.
Corrosion and Material Mismatch
Alloys are selected for particular environments, not universal corrosion resistance. Chlorides, acids, moisture, deposits, and temperature changes can cause localized attack when conditions exceed the material’s capabilities.
Inspect for pitting, crevice corrosion, and cracking near welds, threads, and gasket contact areas. Deposits can conceal damage, so clean only after isolation and under approved procedures.
Dissimilar metals may experience galvanic corrosion when electrically connected in a conductive fluid. Investigate the complete material combination and environment before attributing damage to one component.
Movement, Vibration, and Thermal Cycling
Pump vibration, unsupported pipe weight, and repeated heating or cooling can loosen connections or initiate fatigue cracks. Leaks that recur after retightening often warrant a broader mechanical assessment.
Examine nearby supports, anchors, and expansion provisions. A fitting may be the visible leak point even though excessive movement elsewhere is the underlying cause.
Weld or Component Defects
Porosity, incomplete fusion, cracks, or thinning may allow fluid to escape through a weld or fitting body. Manufacturing defects are possible, but service damage should also be investigated.
Confirm the leak source before ordering a replacement. Fluid can travel along insulation, pipe surfaces, or weld contours and appear some distance from the actual opening.
How to Inspect a Leaking Alloy Fitting Safely
1. Isolate and Verify
Follow the site’s isolation and lockout procedures. Depressurize, drain, and allow equipment to reach a safe temperature; verify zero energy and address trapped fluid before opening the joint.
Use the required protective equipment and monitoring for the fluid involved. Never loosen a pressurized connection or rely on a closed valve alone as proof of isolation.
2. Document the Joint
Photograph the assembly and record fitting type, markings, orientation, adjacent components, and visible deposits. Review drawings, material certificates, installation records, and previous repair history where available.
Compare the identified alloy and pressure-temperature rating with the specification. Treat missing or unreadable markings as a verification issue, not proof that the material is incorrect.
3. Examine the External Condition
Look for corrosion, distortion, cracks, damaged threads, uneven flange gaps, and signs of movement. Check supports and nearby equipment for vibration or loading that could affect the joint.
Use approved leak-detection methods suited to the fluid and site conditions. Do not use hands to locate high-pressure leaks, which can cause serious injection injuries.
4. Inspect Internal Sealing Surfaces
After safe disassembly, examine the gasket, ferrules, threads, tube ends, and mating faces as applicable. Photograph their original condition before cleaning or removing evidence.
Look for extrusion, uneven compression, scratches, pitting, or misalignment. Measure damaged areas against the manufacturer’s acceptance criteria and replace components that exceed permitted limits.
5. Select Further Testing
When surface cracking is suspected, qualified personnel may use an appropriate surface examination method, such as liquid penetrant testing, subject to material, cleanliness, and procedure requirements.
Ultrasonic thickness measurement, radiography, or other examinations may be appropriate for suspected wall loss or weld defects. Choose the method and acceptance criteria with the responsible engineer.
Should You Retighten, Repair, or Replace the Fitting?
Retightening is appropriate only when the equipment is safely isolated and the manufacturer’s procedure permits it. It will not correct corrosion, cracked components, damaged sealing faces, or excessive pipe strain.
Replace damaged seals or fittings with components verified for the medium, pressure, temperature, dimensions, and applicable specifications. Avoid mixing compression-fitting parts unless the manufacturer explicitly permits interchangeability.
For a weld defect or structural damage, obtain engineering approval before repair. The procedure may require a qualified welder, compatible filler, controlled heat input, and post-repair examination.
Specialty alloy materials can support demanding high-temperature applications, but product form matters. Iron-Based Superalloy Powders are supplied for applications such as additive manufacturing and wear-resistant cladding, not as replacement pipe fittings.
Some listed grades have a maximum continuous-use temperature of up to 780°C, depending on material and application. Powder selection or cladding repairs require engineering assessment and qualified procedures.
How Can You Confirm the Repair and Prevent Recurrence?
Reassemble the joint using approved components and the manufacturer’s sequence and tightening requirements. Correct misalignment and support problems before tightening, rather than forcing the connection into position.
Perform the specified leak or pressure test using an approved procedure, test medium, and safety controls. Restore service gradually and monitor the joint through relevant operating temperature and pressure changes.
Document the cause, work performed, replacement details, test results, and follow-up observations. For repeated failures, review operating excursions, vibration, material compatibility, and maintenance practices with the engineering team.
A reliable repair addresses both the leak path and its underlying cause. When evidence is inconclusive, preserve the failed parts and involve the manufacturer or a qualified materials specialist.
